If your source data is in Excel and has duplicates, run Power Query to remove those duplicates before running a Word mail merge.
Sending the same letter to a few people is easy, and you can probably have them all addressed and ready to print before you could create a mail merge to populate the addresses for you. When working with lots of letters or forms, the mail merge feature is much quicker. However, a problem can creep in when the source data has duplicate records. Those duplicates might be wrong or not, as stored. Either way, you won’t want to send the same letter to the same recipient twice. In this article, I’ll show you how to use Excel’s Power Query to remove duplicates and then merge that data set with Word.
I’m using Microsoft 365, but you can use earlier versions. However, Excel Online and Word Online won’t support this technique. You can work with your own data or download the demonstration .xlsx and .xls files. This article assumes you have basic Excel and Word skills, but even a beginner should be able to complete the instructions to success.
How to use Power Query
Excel’s Power Query lets you connect to foreign sources to import data and then transform it into data that you can use in Excel, without changing the source data. In this case, we’re not importing data; the data is in Excel, but Power Query lets you work on Excel data, too. Before running a mail merge from Microsoft Word, run Power Query to create a data set that contains no duplicates.
This step takes place in Excel, where the data you want to merge is stored. You’ll remove the duplicates before the mail merge as follows:
- Click inside the data set that contains or might contain duplicate records. (See Figure A for a peek at the source data.)
- Click the Data tab.
- In the Get & Transform Data group, click From Sheet. The resulting window shows the entire data set in Power Query (Figure A).
- Select the column(s) that you want to check for duplicates. This is where things can get a bit tricky because you have to determine which columns comprise a duplicate. That answer depends on how you use the data. There’s no hard-and-fast rule. Where our demonstration data is concerned, we could use the name and address columns. It’s doubtful that you’d need the phone column. In fact, depending on your business, you might not need the city, state and ZIP code, but keep in mind when applying this to your work, you might need to select several columns to define a duplicate within the context of how you use that data. To simplify things, select the two name columns by holding down the Shift key while clicking anywhere inside each of the two name columns.
- On the Home tab (in Power Query, not Excel), click the Remove Rows dropdown in the Reduce Rows group.
- In the resulting dropdown list, choose Remove Duplicates, as shown in Figure B.
Figure A
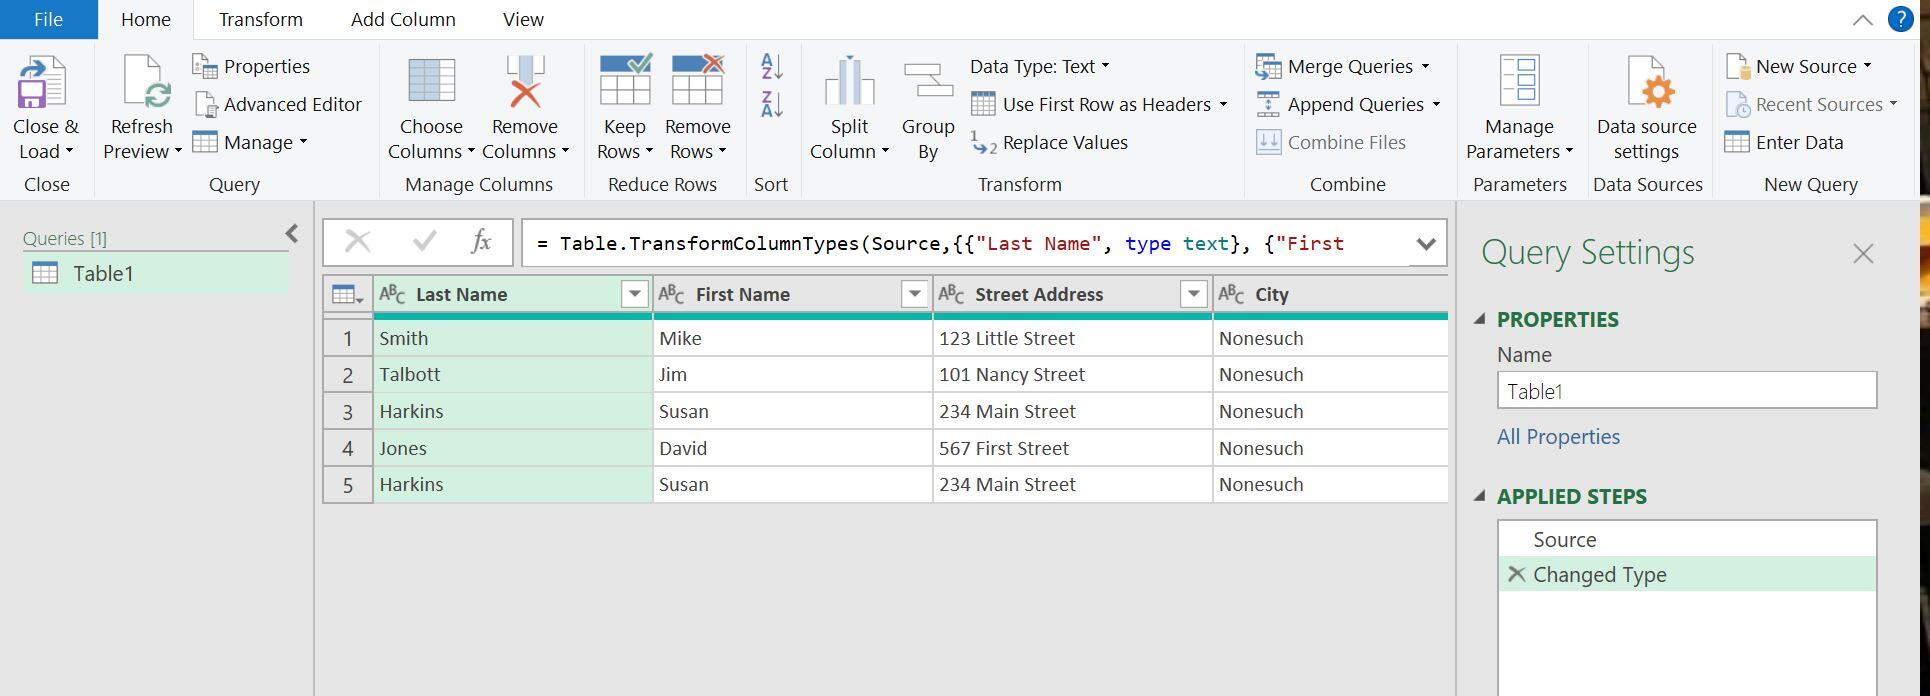
Figure B
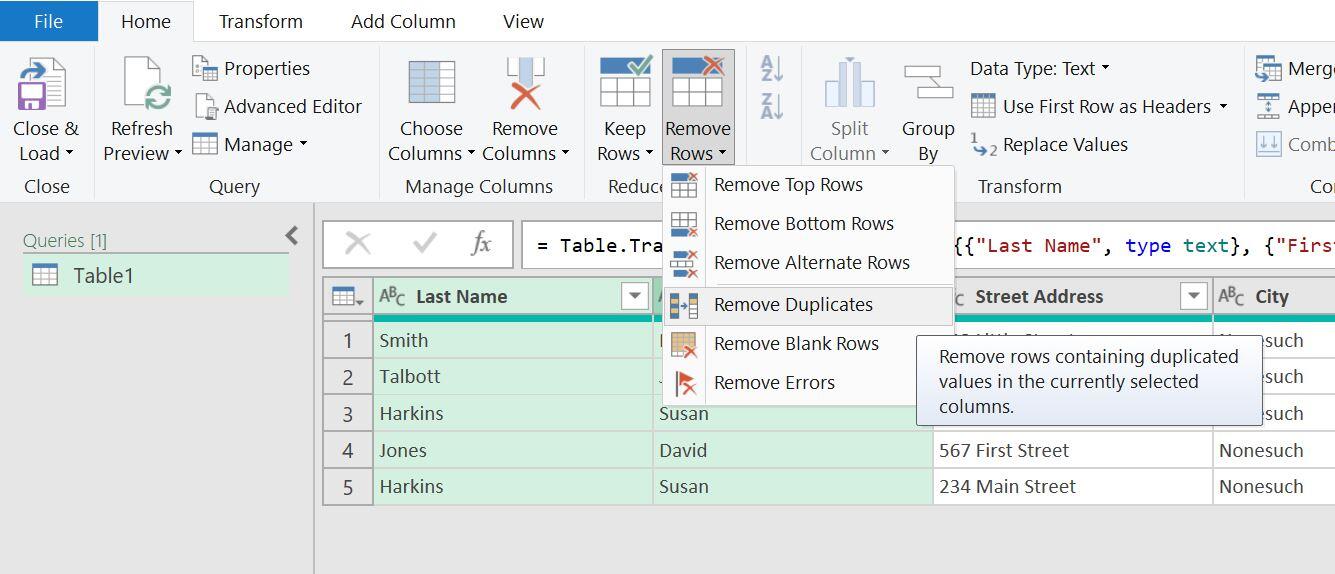
Figure C shows the results; there’s only one record for Susan Harkins. Step 4 is the key to removing duplicates. In this case, the example requires only considering the first and last name. Some data sets will need every column evaluated for duplicates. It’s up to you and knowing your data and how you use it is the key to getting this step right.
Figure C

At this point, you have a data set with no duplicates that you can merge with Word, but first, you need to copy the records from Power Query into an Excel sheet. To return the duplicate-less data set to Excel, click Close & Load in the Close group. Doing so will create a new sheet and save the resulting data set, as shown in Figure D. Once the data is in Excel, you can use it in your mail merge. Rename the sheet Mail; doing so will make it easier to find later. You’ll want to note the location of the workbook and remember the sheet name.
Figure D

How to use Word mail merge
Word’s mail merge feature helps you populate form letters, e-mail messages, envelopes, labels, directories and so on. This demonstration is simple because it’s about removing the duplicates in Power Query, not merging Excel data into Word. You need a mail document in Word and the Excel workbook that contains the data you want to merge. In this case, it’s the address records in the sheet named Mail.
To get started, open a new document in Word, click the Start Mail Merge option in the Start Mail Merge group on the Mailings tab. Choose Step-By-Step Mail Merge Wizard from the dropdown. The wizard will walk you through the simple process, as follows:
- Choose Letters in the Mail Merge pane, which opens automatically. This step creates your mail document.
- Click the Next: Starting Document link at the bottom of the pane.
- You don’t need to change anything, so click the Next: Select Recipients link at the bottom of the pane.
- Use An Existing List is the default, and that’s what we want. In the middle section, click Browse, so you can identify the Excel workbook that contains your recipient records. (Remember earlier, I mentioned that you should note the location of the Excel workbook that contains the merge data.)
- Use the Select Data Source to locate the Excel workbook and click Open.
- In the resulting dialog, the wizard lists the sheets that contain data. As shown in Figure E, choose Mail. Pay attention: The First Row of Data Contains Column Headers option at the bottom-left corner. You might need to uncheck that option when working with your own data.
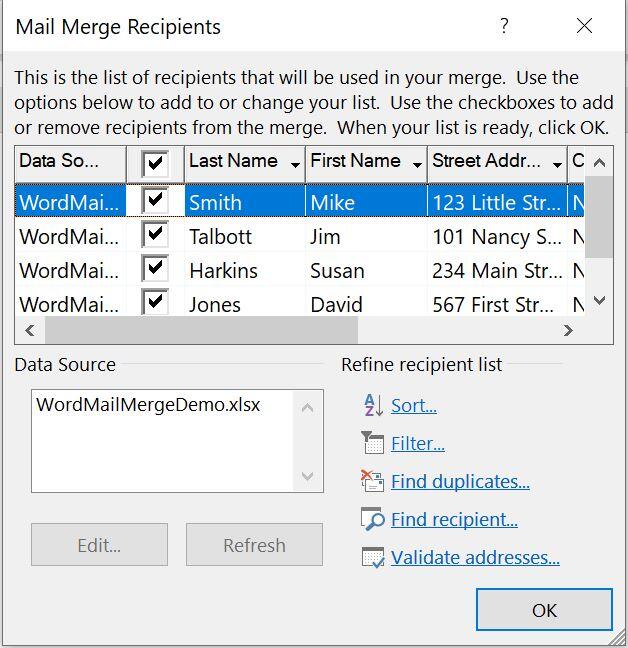
- The next dialog, shown in Figure F, allows you to remove records you don’t want to merge. In this case, we don’t want to do so. However, note all the things you can do to the records at this point—sort, filter and so on. Later, you can explore these options on your own if you’re not familiar with them.
- At this point, you’ve linked to the Excel sheet Mail, as your data source. Now it’s time to create the letter. To do so, click Next: Write Your Letter link at the bottom of the pane.
- Click the Address Block link, which will open the Insert Address Block dialog. Again, the default options are fine for our simple example. Notice that the preview window displays the first record. It’s at this point that you can reformat the default settings. Without making any changes, click OK.
Figure E
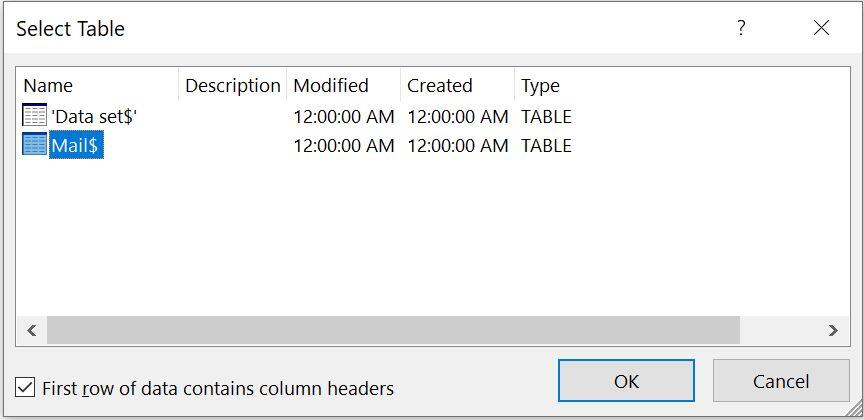
Figure F
You’re done with the wizard now, and your mail document shows the address block field, as shown in Figure G. You’re not quite done yet.
Figure G

Now it’s time to populate the address block in Word with the source data in Excel. Simply click the Next: Preview Your Letters option at the bottom of the pane.
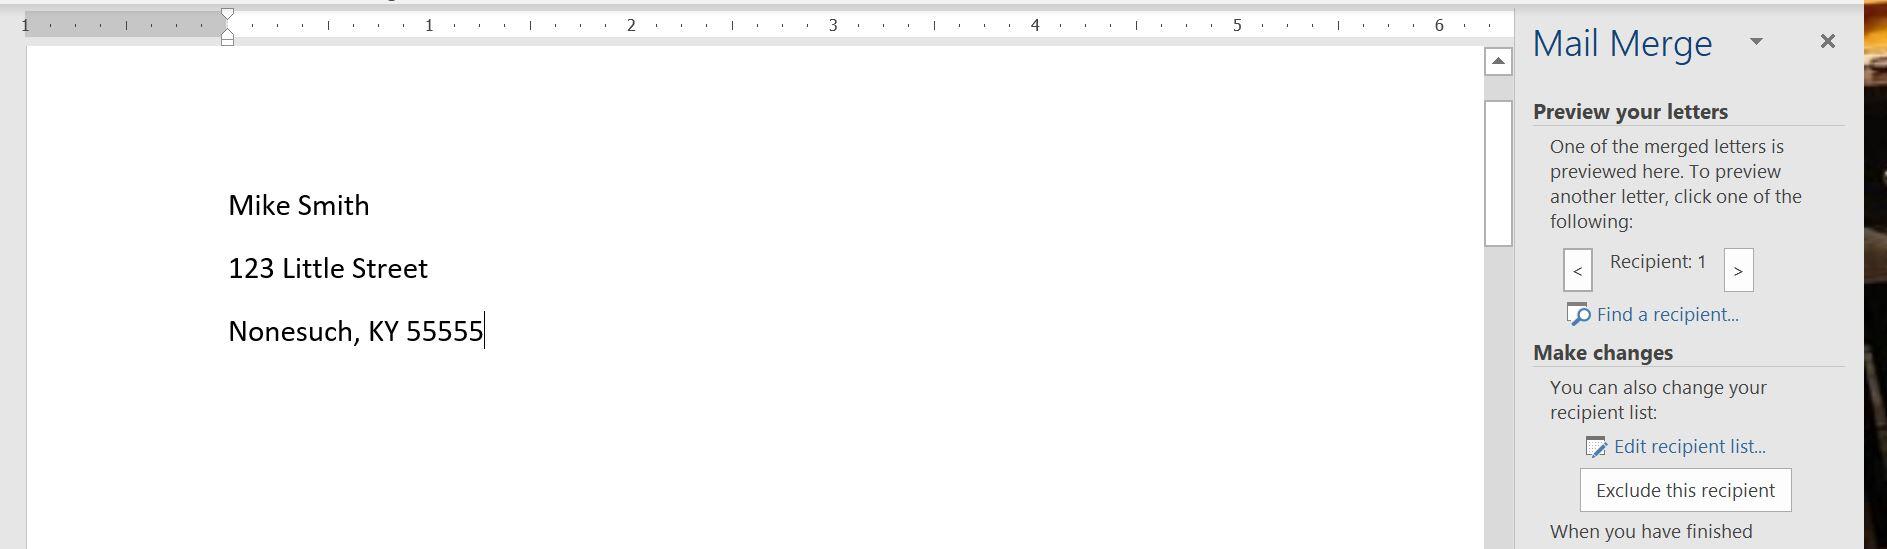
Figure H shows the first merged document; you can see Mike Smith’s address. To see the other documents, click the arrows next to the Recipient link in the pane. There are four new documents because you merged four records from Excel. The duplicate record is not merged because it isn’t in the data set in the Mail sheet.
Figure H
At this point, you can save or print the resulting documents. In a real situation, you’d want to complete the letters before the merge, but the purpose of this section was to merge the data set without the duplicate record. Notice that you still have the option to exclude a recipient if you missed doing so during the merge (Figure F).